How to Clip Podcasts for TikTok: A Step-by-Step Production Guide
Learn how to clip podcasts for TikTok step by step. Master vertical reframing, word-timed captions, hook selection, and safe zones for short-form video.
Updated By ClipFlap editorial team
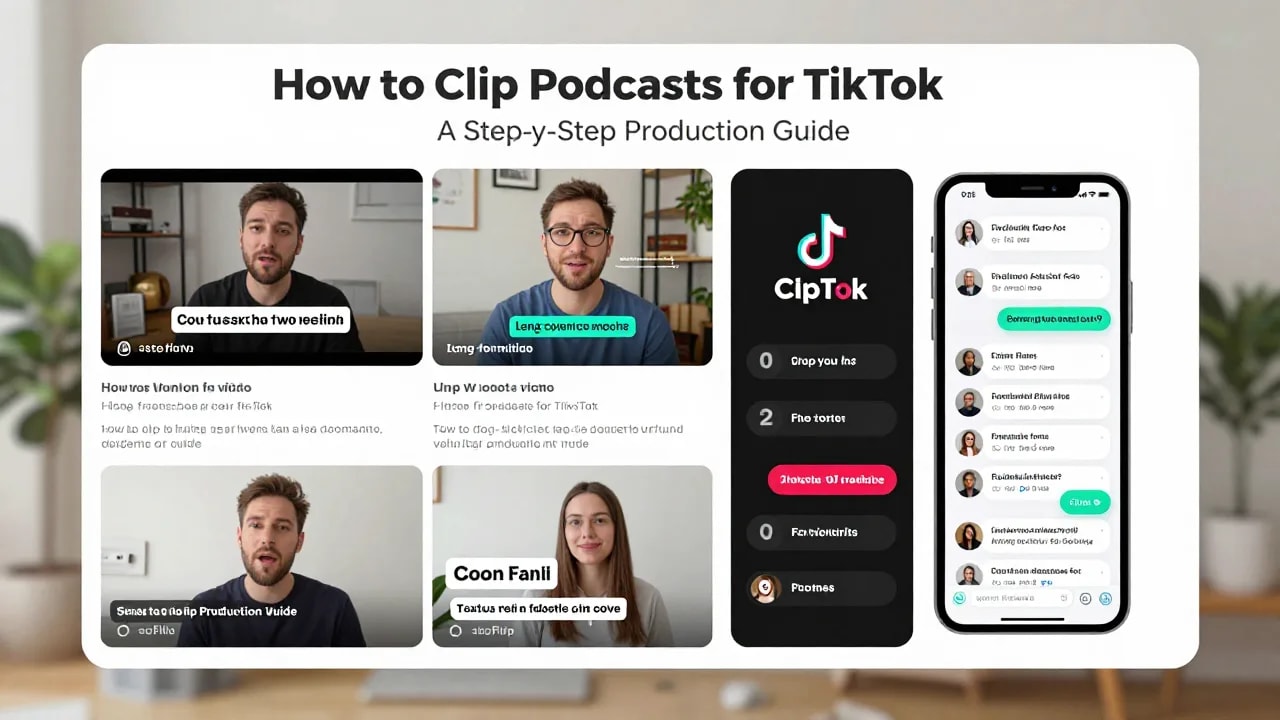
Long-form filmed podcasts contain hours of nuanced discussion, but distributing full episodes across modern feeds requires adapting that material for vertical, fast-paced feeds. Learning how to clip podcasts for tiktok allows creators to extract high-leverage conversations, isolate compelling soundbites, and reach mobile audiences without demanding an hour-long commitment upfront.
Transforming horizontal studio footage into engaging short-form assets requires more than arbitrary cropping. It demands an intentional pipeline: identifying standalone narrative hooks, reframing multi-speaker setups into a 9:16 aspect ratio, synchronizing accurate word-timed captions, and adhering to interface boundaries. This technical blueprint walks you through every stage of the podcast clipping workflow.
Step 1: Selecting Standalone Moments and Narrative Hooks from Your Episode
A successful TikTok clip functions as an independent, coherent story. On short-form platforms, viewers lack the context established earlier in a sixty-minute interview. If a segment relies heavily on an inside joke, prior background information, or an unresolved setup, it will struggle to retain viewer attention.
To identify viable clips, focus on these narrative structures:
- Counterintuitive Statements: An opening observation that contradicts conventional wisdom.
- Concise Case Studies: A problem-action-result sequence delivered in under ninety seconds.
- Actionable Advice: Direct, practical guidance solving a specific professional or personal hurdle.
- Emotional or High-Stakes Anecdotes: Stories with immediate narrative tension and clear emotional stakes.
Transcript-Based Highlight Selection
Manually scrubbing through an hour-long timeline to find thirty-second highlights is time-consuming. Utilizing transcript-based highlight selection dramatically accelerates this stage. By searching an indexed text transcript for keywords, topic transitions, or punchy declarations, editors can quickly bookmark potential in and out points.
Modern creators often use an AI podcast clip generator to ingest the full episode recording and surface potential candidate clips based on semantic coherence and structural hooks. However, while assistive tools identify candidate moments, human editorial judgment remains essential to verify that the excerpt preserves the speaker's true intent and context.
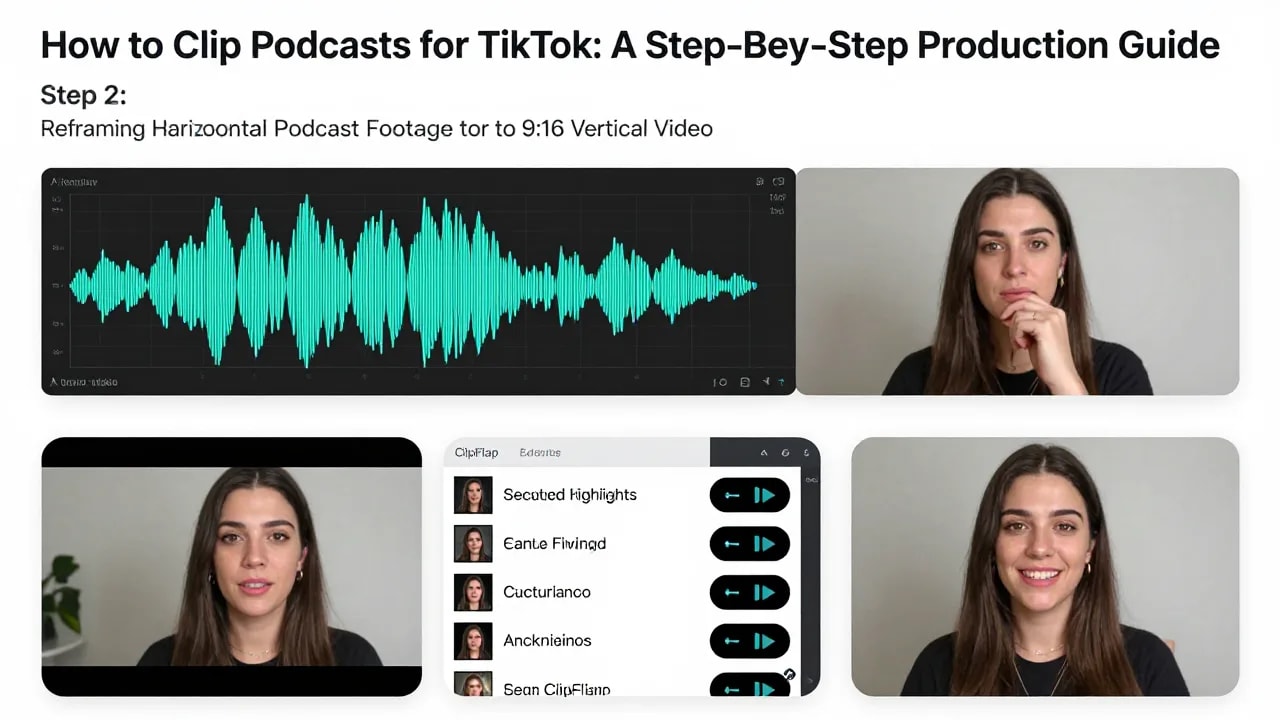
Step 2: Reframing Horizontal Podcast Footage to 9:16 Vertical Video
Most filmed podcasts record in landscape 16:9. Displaying widescreen video directly on TikTok creates massive black bars above and below the footage, drastically reducing visual impact and viewer retention. The clip must be converted into a native 9:16 aspect ratio.
Reframing presents distinct geometric challenges depending on your studio setup:
Single-Speaker Framing
For solo episodes or isolated guest feeds, center crop the 16:9 footage into a 9:16 canvas. Ensure the speaker's head sits in the upper-middle third of the vertical frame. This positioning leaves the bottom third open for captions and prevents TikTok's bottom-dock interface from obscuring the speaker's face.
Multi-Speaker Split Screens and Speaker Tracking
When two or more people share a single wide shot, a static center crop will cut out participants or isolate empty space. Editors handle this in two ways:
- Vertical Split-Screen (Stacked): Duplicate the video track, crop the host to the top half of the 9:16 frame, and crop the guest to the bottom half. This layout keeps both participants visible simultaneously, making it ideal for reactive conversations.
- Dynamic Speaker Tracking: Use pan-and-scan keyframes or automatic reframing to cut dynamically to whoever is actively speaking. Assistive algorithms can detect audio input and reframe the active speaker automatically, though rapid crosstalk often requires manual keyframe adjustments to prevent jarring visual jumps.
Step 3: Generating and Styling Synchronized, Word-Timed Captions
Mobile video consumption frequently happens with the sound muted. Sound-off viewing makes synchronized on-screen text an operational requirement, not a design afterthought. Standard open-caption subtitle files (SRT) often display full sentences simultaneously, which can feel static and visually overwhelming on fast-paced mobile feeds.
Instead, utilize word-timed captions that animate or highlight words as they are vocalized. This design matches the pacing of spoken speech and guides the viewer's eye through the narrative.
Best Practices for On-Screen Typography
- Font Selection: Choose bold, high-contrast sans-serif typefaces (such as Montserrat, The Bold Font, or Futura Bold). Avoid thin serifs or intricate cursive scripts that blur at low resolutions.
- Line Length: Restrict text blocks to 2–4 words per line. Never exceed two stacked lines of text at any single moment.
- Text Contrast: Apply a subtle drop shadow, thin outline, or semi-transparent background block behind the text to maintain readability against varying studio backgrounds or clothing colors.
- Manual Transcript Proofing: Automated speech-to-text engines reliably mishear technical jargon, brand names, and niche industry terminology. Always manually review the text against the source audio before finalizing.
Step 4: Conducting Manual Review and Editing Before Export
Automated workflows streamline production, but an unreviewed export risks publishing disorienting cuts, audio clipping, or formatting errors. Before rendering your clip, run through this pre-flight editorial checklist:
- Audio Balance: Normalize dialogue levels between -14 LUFS and -16 LUFS to ensure loud, clear playback without distortion.
- Dead Air Removal: Trim micro-pauses, filler words ("um," "ah"), and false starts at the beginning of the clip to deliver an immediate hook within the first two seconds.
- Cut Cleanliness: Ensure that dynamic cuts between speakers occur on natural pauses rather than mid-syllable.
- Safe Zone Compliance: Verify that text, faces, and essential graphics sit inside TikTok's visual safe zones and remain unblocked by native interface icons.
- Context Integrity: Confirm the excerpt does not misrepresent the speaker's argument by cutting away before essential qualifications or counterpoints.
Manual NLE Editing vs. Assistive AI Clipping Tools: Workflow Comparison
Podcasters generally adopt one of two production workflows to manage short-form output: traditional non-linear editors (NLEs) like Adobe Premiere Pro and DaVinci Resolve, or assistive web-based clipping tools.
| Production Factor | Traditional NLE Workflow | Assistive AI Clipping Workflow |
|---|---|---|
| Setup & Configuration | Manual timeline creation, nested sequences, manual keyframing | Cloud upload, preset selection, automated layout generation |
| Highlight Detection | Manual scrubbing or real-time review of recording timeline | Transcript-based text search and semantic highlight detection |
| Reframing & Layout | Manual pan-and-scan keyframes or static multi-track cropping | Automatic reframing using face and active speaker detection |
| Caption Generation | Manual SRT import, basic subtitle tracks, or plugin styling | Automatic word-timed captions with built-in kinetic presets |
| Production Bottleneck | High hands-on editing time per clip (20–40 mins) | Proofreading transcript accuracy and verifying cut points (5–10 mins) |
| Creative Control | Complete, frame-by-frame precision over color, audio, and VFX | Constrained to platform presets and modular layout adjustments |
For high-volume creators, an end-to-end podcast to clips workflow combining assistive automation for layout and captioning with manual human review delivers a sustainable balance of speed and editorial polish.
TikTok Technical Specifications and Safe Zone Considerations for Podcasters
Exporting video with improper dimensions or positioning text outside platform safe zones degrades viewer experience. TikTok places native user interface elements over vertical content: profile icons, like counters, and comment bubbles on the right; the creator handle and description on the bottom; and navigation tabs across the top.
Core Export Specifications
- Aspect Ratio: 9:16 vertical
- Resolution: 1080 x 1920 pixels (avoid rendering 4K vertical; mobile platforms compress high-bitrate files aggressively, often introducing compression artifacts)
- Frame Rate: 30 fps or 60 fps (match your original camera recording base)
- Codec & Container: H.264 video, AAC audio, MP4 container
- Audio Channel: Stereo, 48 kHz, minimum 192 kbps bitrate
Safe Zone Rules
To ensure your content remains completely legible across varied screen dimensions, observe these boundaries on a 1080 x 1920 canvas:
- Top Margin: Keep 150 to 200 pixels clear to prevent top search and navigation headers from overlapping speaker foreheads.
- Bottom Margin: Keep the lower 350 to 450 pixels clear of critical subtitles or branding to avoid interference with the caption description box and sound title.
- Right Margin: Reserve 120 pixels along the right edge for platform interaction icons (likes, comments, bookmarks, and shares).
Placing your word-timed captions in the center-middle section of the screen—just beneath the speaker's chest level—guarantees cross-platform visibility on all mobile devices.
Frequently Asked Questions
What is the ideal length for a podcast clip on TikTok?
While TikTok supports longer videos, the most effective podcast clips typically run between 30 and 75 seconds. This timeframe provides sufficient room to articulate a complete concept, deliver a punchline, or present a practical insight without triggering mid-video drop-offs. If a concept requires more than two minutes, consider splitting it into a multi-part series.
How do you reframe a two-person horizontal podcast for vertical format?
The two most common solutions are a stacked vertical split-screen or dynamic active-speaker cuts. A stacked split-screen places the host on the top half of the screen and the guest on the bottom, allowing viewers to see both dialogue and non-verbal reactions simultaneously. Alternatively, you can toggle between individual 9:16 crops of each person based on who is speaking.
Why should I use word-timed captions instead of standard subtitles on TikTok?
Standard subtitles often display several lines of static text at once, creating a visual disconnect with fast-moving dialogue. Word-timed captions highlight or reveal words individually as the speaker articulates them. This format matches natural speech cadence, improves viewer comprehension in sound-off environments, and keeps mobile viewers visually engaged.
Can AI tools completely automate podcast clipping without human oversight?
No. While assistive tools excel at transcription, active speaker tracking, and rough-cut generation, fully automated publishing is not recommended. Assistive algorithms can misinterpret conversational irony, cut off concluding thoughts abruptly, or misspell domain-specific vocabulary. Editorial oversight is necessary to ensure every published asset reflects professional standards.
Ready to transform your full-length episodes into engaging short-form video? Use our AI podcast clip generator to turn your long-form recordings into polished, vertical clips with automated framing and word-timed captions.
Related reading
- How to Turn Podcast into Shorts: A Step-by-Step Production Guide
Learn how to turn podcast into shorts with this step-by-step workflow covering reframing, word-timed captions, transcript editing, and quality control.
- How to turn a podcast into TikTok clips that work for strangers
A podcast-to-TikTok workflow: moments that need zero context, hooks written for strangers, vertical framing, captions, and publishing to TikTok.
- How to turn a podcast into YouTube Shorts (and publish them from the same place)
A podcast-to-Shorts workflow: moments that stand alone, vertical framing, captions for muted autoplay, then publish or schedule to your channel.
See how ClipFlap picks podcast clips →
Try it on your own episode
10 free minutes of processing, no card required. Processing time varies with source length and queue load; review each clip before publishing.